Step-by-step instructions | Toddler friendly
I have such fond childhood memories of Easter. The smell of hot cross buns baking in the oven, painting and dying eggs, creating Easter baskets and, of course, the Easter Egg Hunt. First thing on Easter Sunday morning we would rush outside to see where the eggs had been hidden; filling our baskets to the brim and pushing each other out of the way. Creating Easter baskets became a yearly tradition and it is something which I plan to continue with my family.
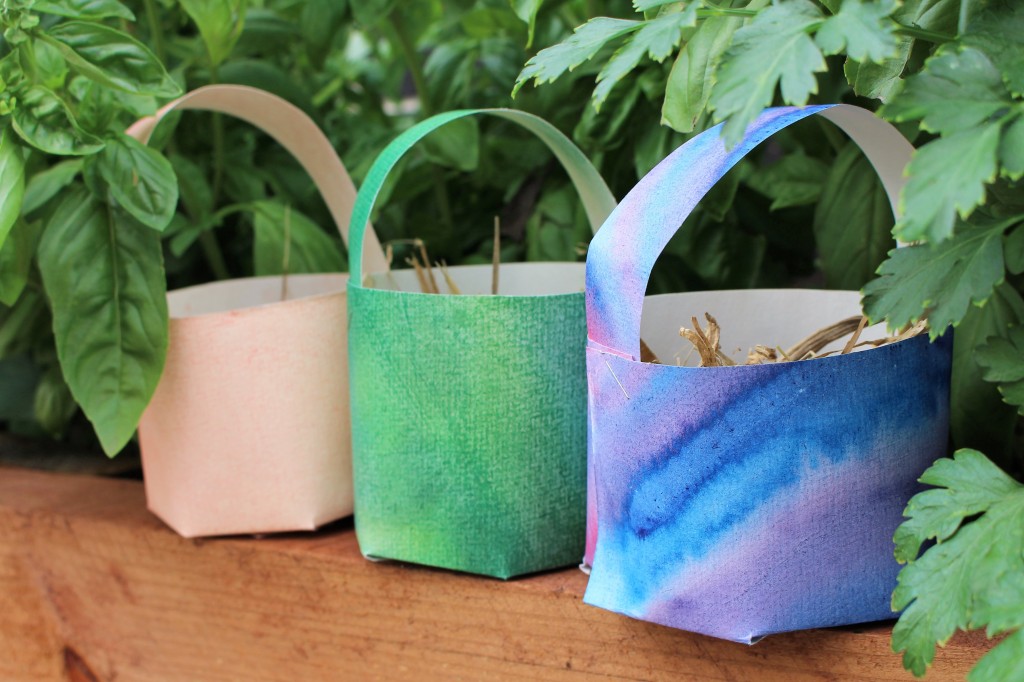
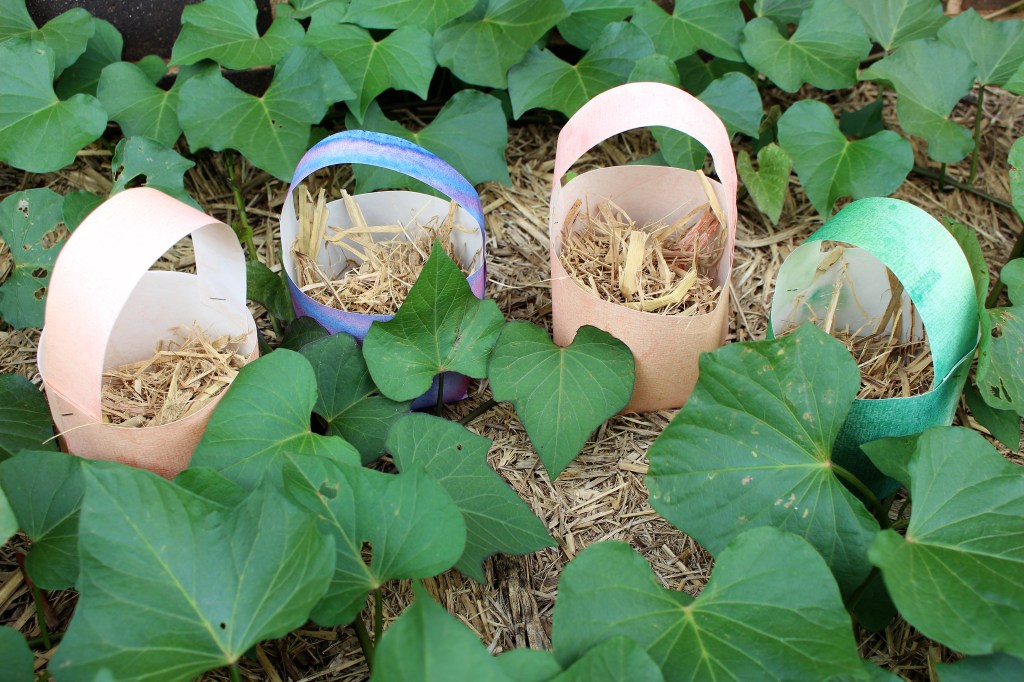
This year I made an Easter basket with my 2-year-old. We used a very simple design to create round baskets with some of our wet-on-wet watercolour paintings (paintings done using Stockmar Circle Colours). However, this basket could easily be made with plain coloured paper or one of your child’s drawings. As my son grows older I would like to try something more detailed like this one, but an easy, round basket was the perfect afternoon activity for a toddler.
This activity is a lovely way to begin the Easter season. It invites discussion about why Easter is celebrated and provides many opportunities to develop fine motor skills with folding, gluing and cutting. My son is just starting to learn how to cut with scissors and he is always so excited to use them. This basket is also a good way to use some of the many art works we have painted this year.
Simple Easter Baskets
These instructions were inspired by the Easter baskets found in Festivals, Family and Food.
Materials:
- One A4 piece of paper: a wet-on-wet watercolour painting, plain coloured paper or a picture that your child has drawn.
- Ruler
- Pencil
- Stapler
- Paper glue
- Straw or unspun wool to put inside basket
Directions:
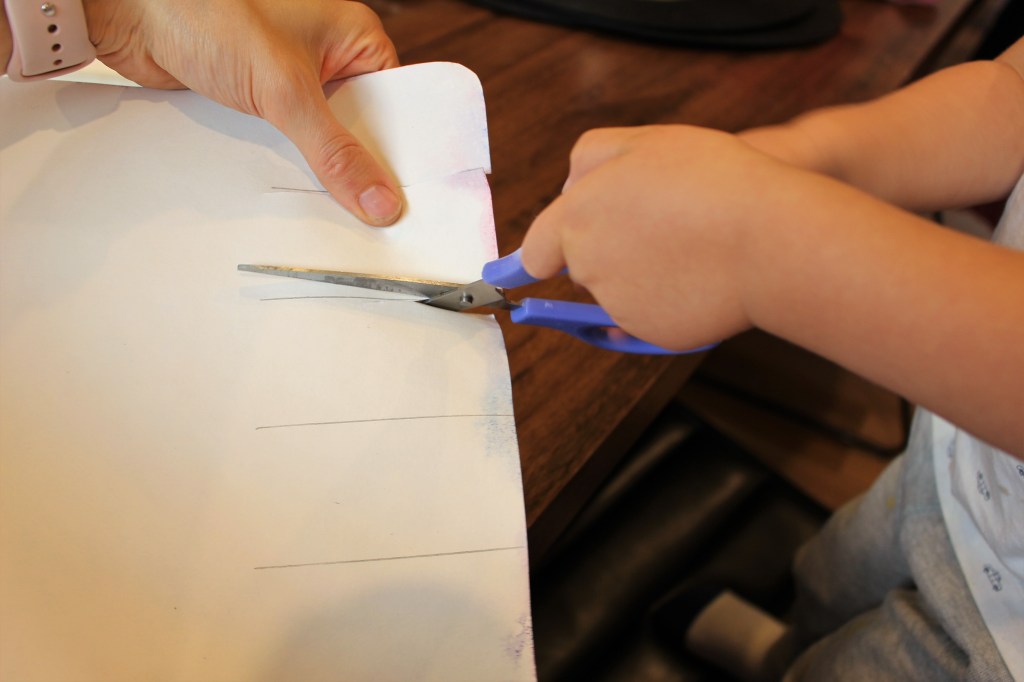
1. Divide your sheet of paper roughly into 3rds. Cut the top 3rd off and put aside to use later as the handle.
2. Using a ruler, draw vertical lines on the bottom 3rd of the page about 4cms apart to create strips. You can skip this step if you’re making them by yourself or with other older children. It is helpful for younger children to have a guide to cut along.
3. Cut along the lines so that one side of the page is now cut into strips.
4. Fold the strips down.
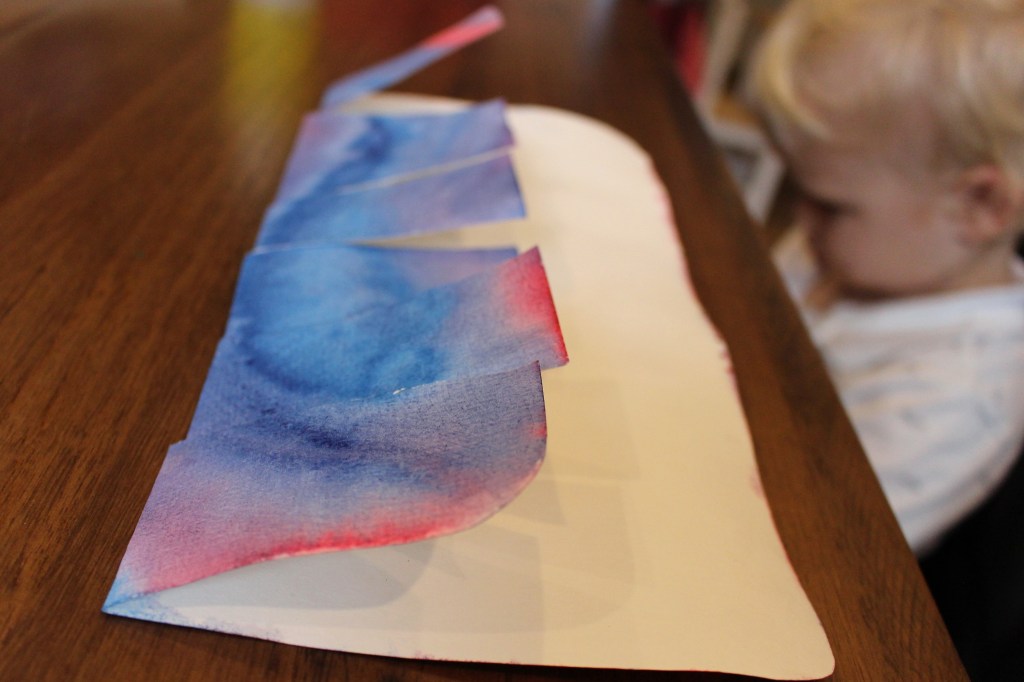
5. Roll the page up and staple the ends together at the top to create a round.
6. Glue the strips in on top of one another and push down firmly.

7. Take the piece of paper from step 1 and cut it into an appropriate handle length and shape.
8. Staple the handle onto the basket.
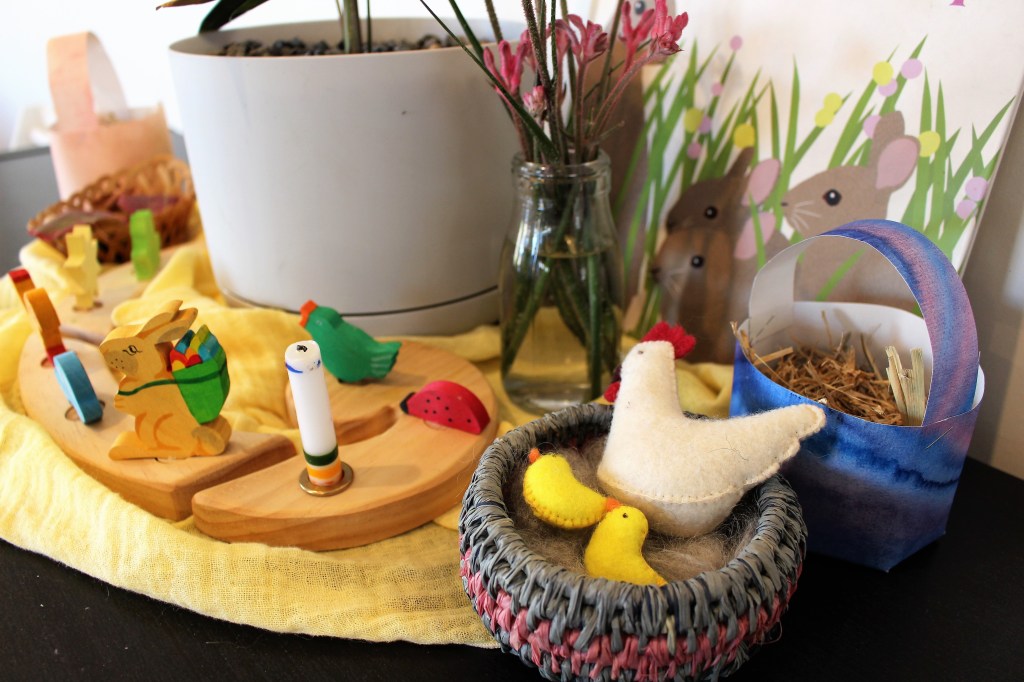
9. Fill with straw or unspun wool and put on display until Easter morning.
Do you make Easter baskets with your little ones? Let me know if you try these and tell me how they work out!